Clay, Rubble and the Wet-Day Walk: A New-Build Garden's First Winter Audit

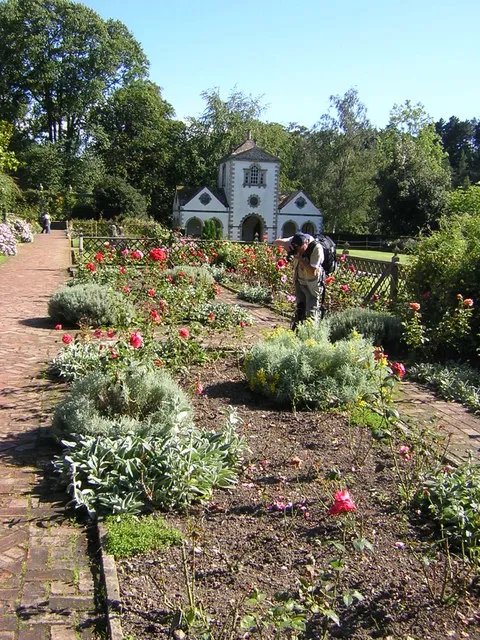
Photo: Signalcharlie, CC BY-SA 3.0, via Wikimedia Commons
New-build gardens have a reputation problem, and it is mostly deserved. The turf goes down in a hurry, the landscaper hands over the keys, and by the first properly wet week of November you notice the lawn squelching by the downpipe and something has been nibbling the one shrub you planted in a fit of optimism. Slugs did not move in with the furniture. They were already there, waiting for the soil to soften.
The good news is that the first winter is the only time you get a clear view of your garden's plumbing before plants, sheds and next summer's growth hide it all. Treat these next few months as an audit rather than a battle. You are not trying to create a sterile plot. You are trying to avoid laying out welcome mats.
Wait for a wet day, then go outside
A dry-day survey tells you almost nothing. What you want is the morning after a solid night of rain, when the ground is still dark and the air smells of wet concrete. Put boots on, take a phone or a notebook, and walk the perimeter slowly. Note where water is standing, where gravel has gone dark, where soil clings to your soles, and where the lawn gives underfoot like a mattress.
Do this twice — once in November, once in January — and compare. Two wet walks beat one, because a single downpour can flatter a badly drained corner or disguise a good one.
What new-build soil is actually like
Most new-build gardens sit on a mixture of compacted subsoil, builder's sand, buried offcuts and a thin layer of so-called topsoil. Clay is common, and clay that has been driven over by a digger does not behave like clay in a mature garden. It holds water near the surface for days. Under the turf there may be rubble, hardcore or a stray sheet of membrane, all of which perch water rather than let it through.
That matters because slugs follow moisture, and moisture follows the path of least resistance. Every low spot, every trench line, every gap between paving and border is a potential overnight shelter.
The four places to look first
Drainpipe outlets and gullies. Trace every downpipe to where it actually discharges. If it empties onto gravel beside the wall, or a water butt overflows onto the same patch all winter, you have created a permanent damp zone within a metre of the house. That is prime slug territory, and it is also not brilliant for your brickwork.
Pots and pot feet. New patios come with new pots, and new pots usually come with saucers. A saucer left out through winter is a paddling pool. Check whether your pot feet are actually lifting the pot clear, or slowly sinking into the joint lines.
Boundary gravel and fence lines. Gravel over membrane sounds tidy and drains well — until leaves collect in it and rot down into a damp, sheltered layer. Fence posts, the base of a shed and the neighbour's ivy creeping over the panel are all classic hiding places.
Bare soil and turf edges. Look at the join between border and lawn. If turf has been laid over rubble, the edge will stay soft all winter. If there is a bare, uncompacted strip, water will sit in it. Both are worth noting.
Record it simply: three colours, one page
Sketch the garden outline on a sheet of paper — it does not need to be accurate. Mark standing water and soft, squelchy ground in red. Mark damp-but-draining areas in amber. Leave everything dry as it is. Date the page and take a photo of it.
That rough map is more useful than any generic advice, because it is about your plot. It tells you where to spend effort and, just as importantly, where not to.
Small changes worth making now
Redirect the downpipe. A length of hose or a short gravel-filled trench taking the outlet away from the wall and into a planted soakaway area solves two problems at once. If you have a water butt, check the overflow — many dump straight onto the patio.
Lift the pots properly. Chunky feet, no saucers through winter, and group pots where the ground drains rather than where it puddles.
Clear the gravel. Rake leaves off boundary gravel before they break down. It is a ten-minute job that removes a whole layer of shelter.
Ease the compaction in beds, but only when the soil is workable. Forking wet clay makes it worse. Wait for a drier spell, then spike it and top with grit or compost rather than digging it over.
Cut a clean turf edge and dig out any buried offcuts you find. You will be surprised how often a soft, sinking lawn edge turns out to be turf folded over rubble.
What to leave until spring
Nematodes need soil that has warmed to roughly 5°C and is reliably moist — that is a spring job, not a December one. Heavy mulches on wet clay will hold moisture in exactly the wrong way, so keep them for later. And resist the urge to buy every barrier on the shelf. At No Slug we would rather you spent an afternoon with a notebook than forty pounds on copper tape that peels off by February.
A realistic target
A No Slug border is not a slug-free border, and it should not be. Thrushes, hedgehogs and ground beetles all eat slugs, and a garden with none at all is a garden with something missing. What you are aiming for is fewer welcome mats: no standing water within a spade's length of anything you actually care about, no saucers left out, no leaf-filled gravel against the wall.
That is achievable in one winter, on a new plot, without chemicals. Walk it wet, mark it down, fix the worst three spots, and let spring 2027 start on better terms.